Next.js로 나만의 블로그 만들기 with 정적 생성
23년 12월 기준 Next가
App Router로 변경되면서, 이 글은 deprecated되었습니다.
제 블로그는Next App Router로 업데이트되었습니다. 코드 보러가기
이 블로그 miryang.dev 는 Next.js로 만들어졌습니다.
어떻게 만드는지 궁금해하시는 분들이 많아서 가이드와 핸즈온음 준비했습니다.
Next.js로 나만의 블로그 만들기 핸즈온 세션 참여자 대상으로 작성된 안내서로 자세한 설명은 핸즈온에서 구두로 합니다.
핸즈온 후기!
- 혼자 했으면 오래 걸리거나 중간에 그만뒀을텐데 자세히 설명도 해주시고 실시간으로 보여주셔서 잘 만들 수 있었습니다
- 좋은 강의 감사합니다 덕분에 next.js 영업당했어요!ㅋㅋㅋㅋㅋ 다음에도 또 참여하고싶어요!!
- 만족스러운 강의였습니다. 다음 강의도 기다리겠습니다 :)
- 아직 next.js나 ts 지식이 부족해서 따라가기 힘든 점은 있었지만 이런식으로 구성되어 있다는걸 알 수 있는 점이 좋았어요!
- next.js 블로그 만들기를 예전에 도전했다가 실패한 경험이 있었어요. 미량님 강의를 들으니까 next.js가 어떻게 동작하는지 (라우팅, seo...) 에대해 감을 잡을 수 있었습니다. 너무 감사해요.
목표
- Next.js를 간단하게 알아봅니다.
- mdx를 사용하는 방법을 알아봅니다.
- seo를 간단하게 알아봅니다.
- 블로그를 만드는 흐름
- 프로젝트가 만들어지는 흐름
배울 수 없는 것
- Next.js의 자세한 사용법
- 스타일링을 하는 방법
- 코드를 어떻게 작성해야하는 지
준비물
- Node.js v16.14.2 이상
- Git
- vscode
- yarn
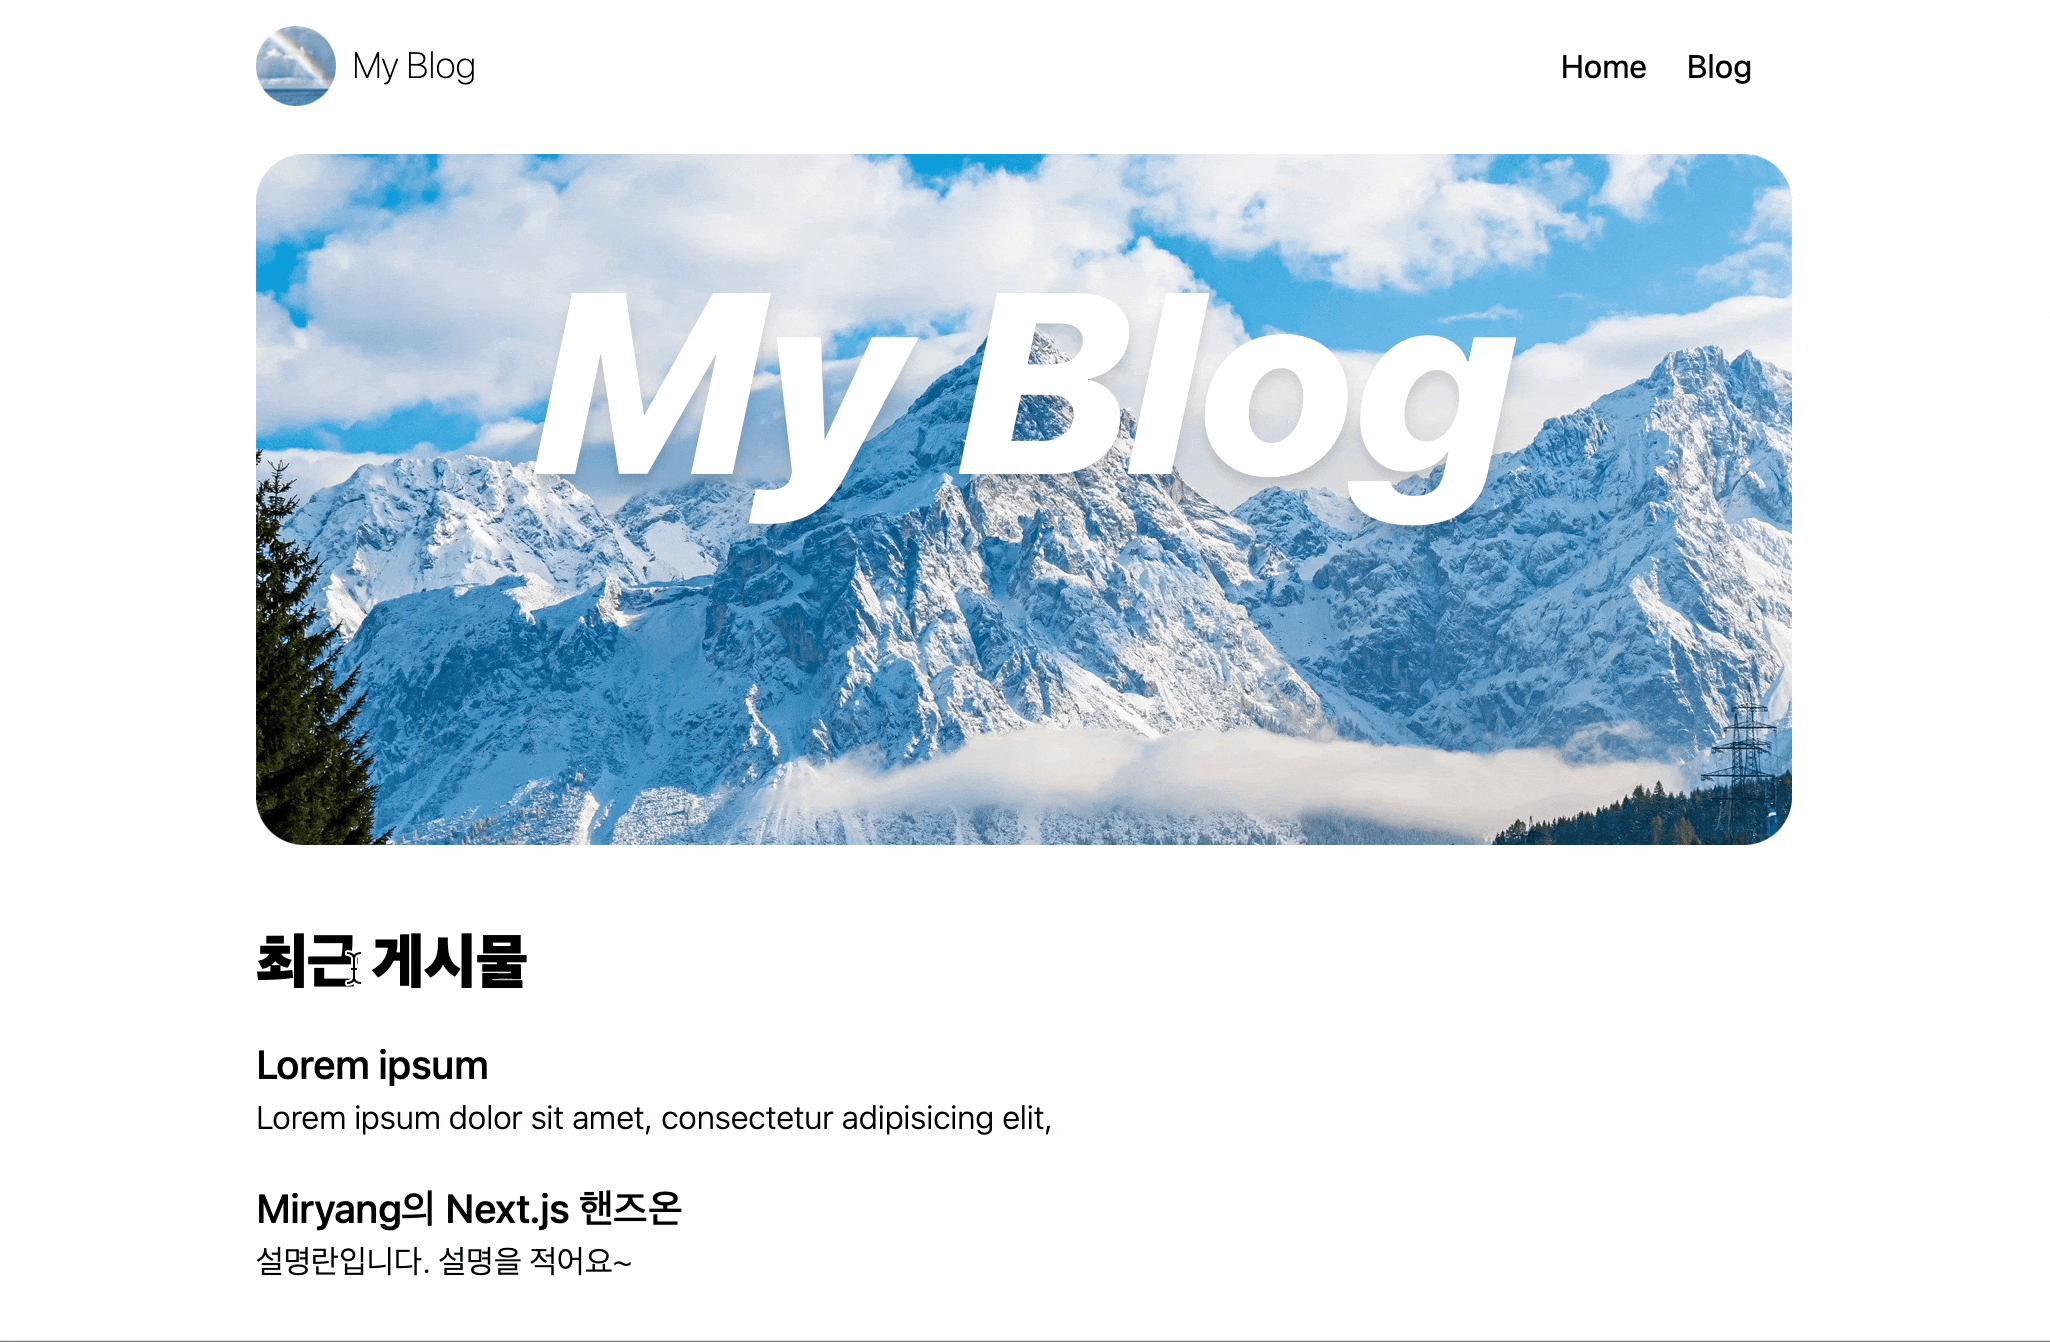
이런 걸 만듭니다.
 GIF
GIF
Next.js 특징
- SSR (Server-Side-Rendering)
- 요청 때마다 HTML를 생성
- SSG (Static-Site-Generation)
- 빌드할 때 HTML를 생성
- File-system Routing
pages/index.js->/pages/blog/article.js->/blog/article
왜 Next.js를 사용하나요?
- Pre-rendering을 사용하므로 SEO 최적화에 유리
- 블로그의 경우 정적 컨텐츠이므로 SSG로 빠른 렌더링을 제공
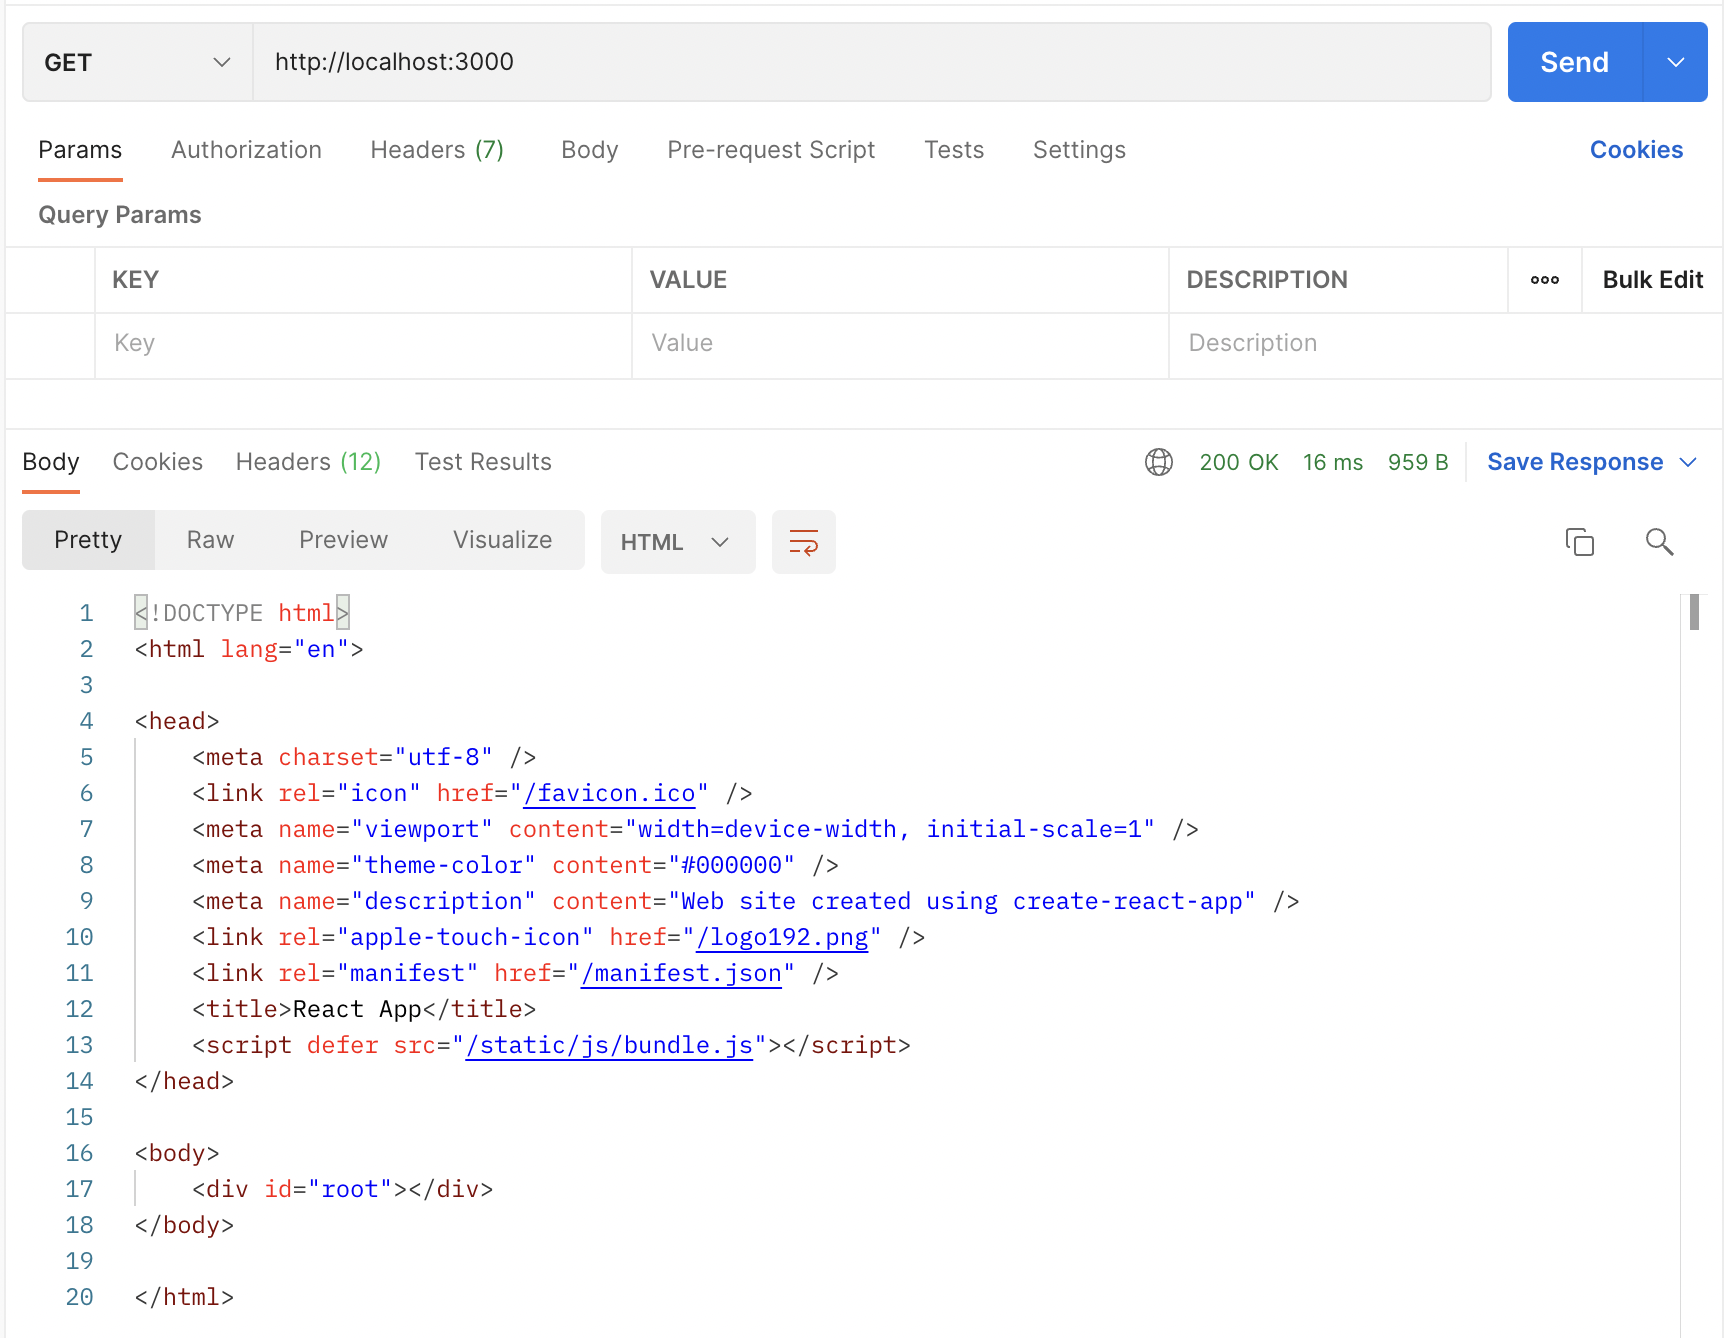
React의 경우 네트워크탭에서 index.html 을 보면 컨텐츠가 포함되어 있지 않음
즉, CSR로 빌드된 React 앱의 경우 크롤링을 했을 때
모든 페이지에서 컨텐츠가 포함되어 있지 않은 index.html 만 읽게 됨.
Next 의 경우 네트워크탭에서 index.html 을 보면 컨텐츠가 포함되어 있음
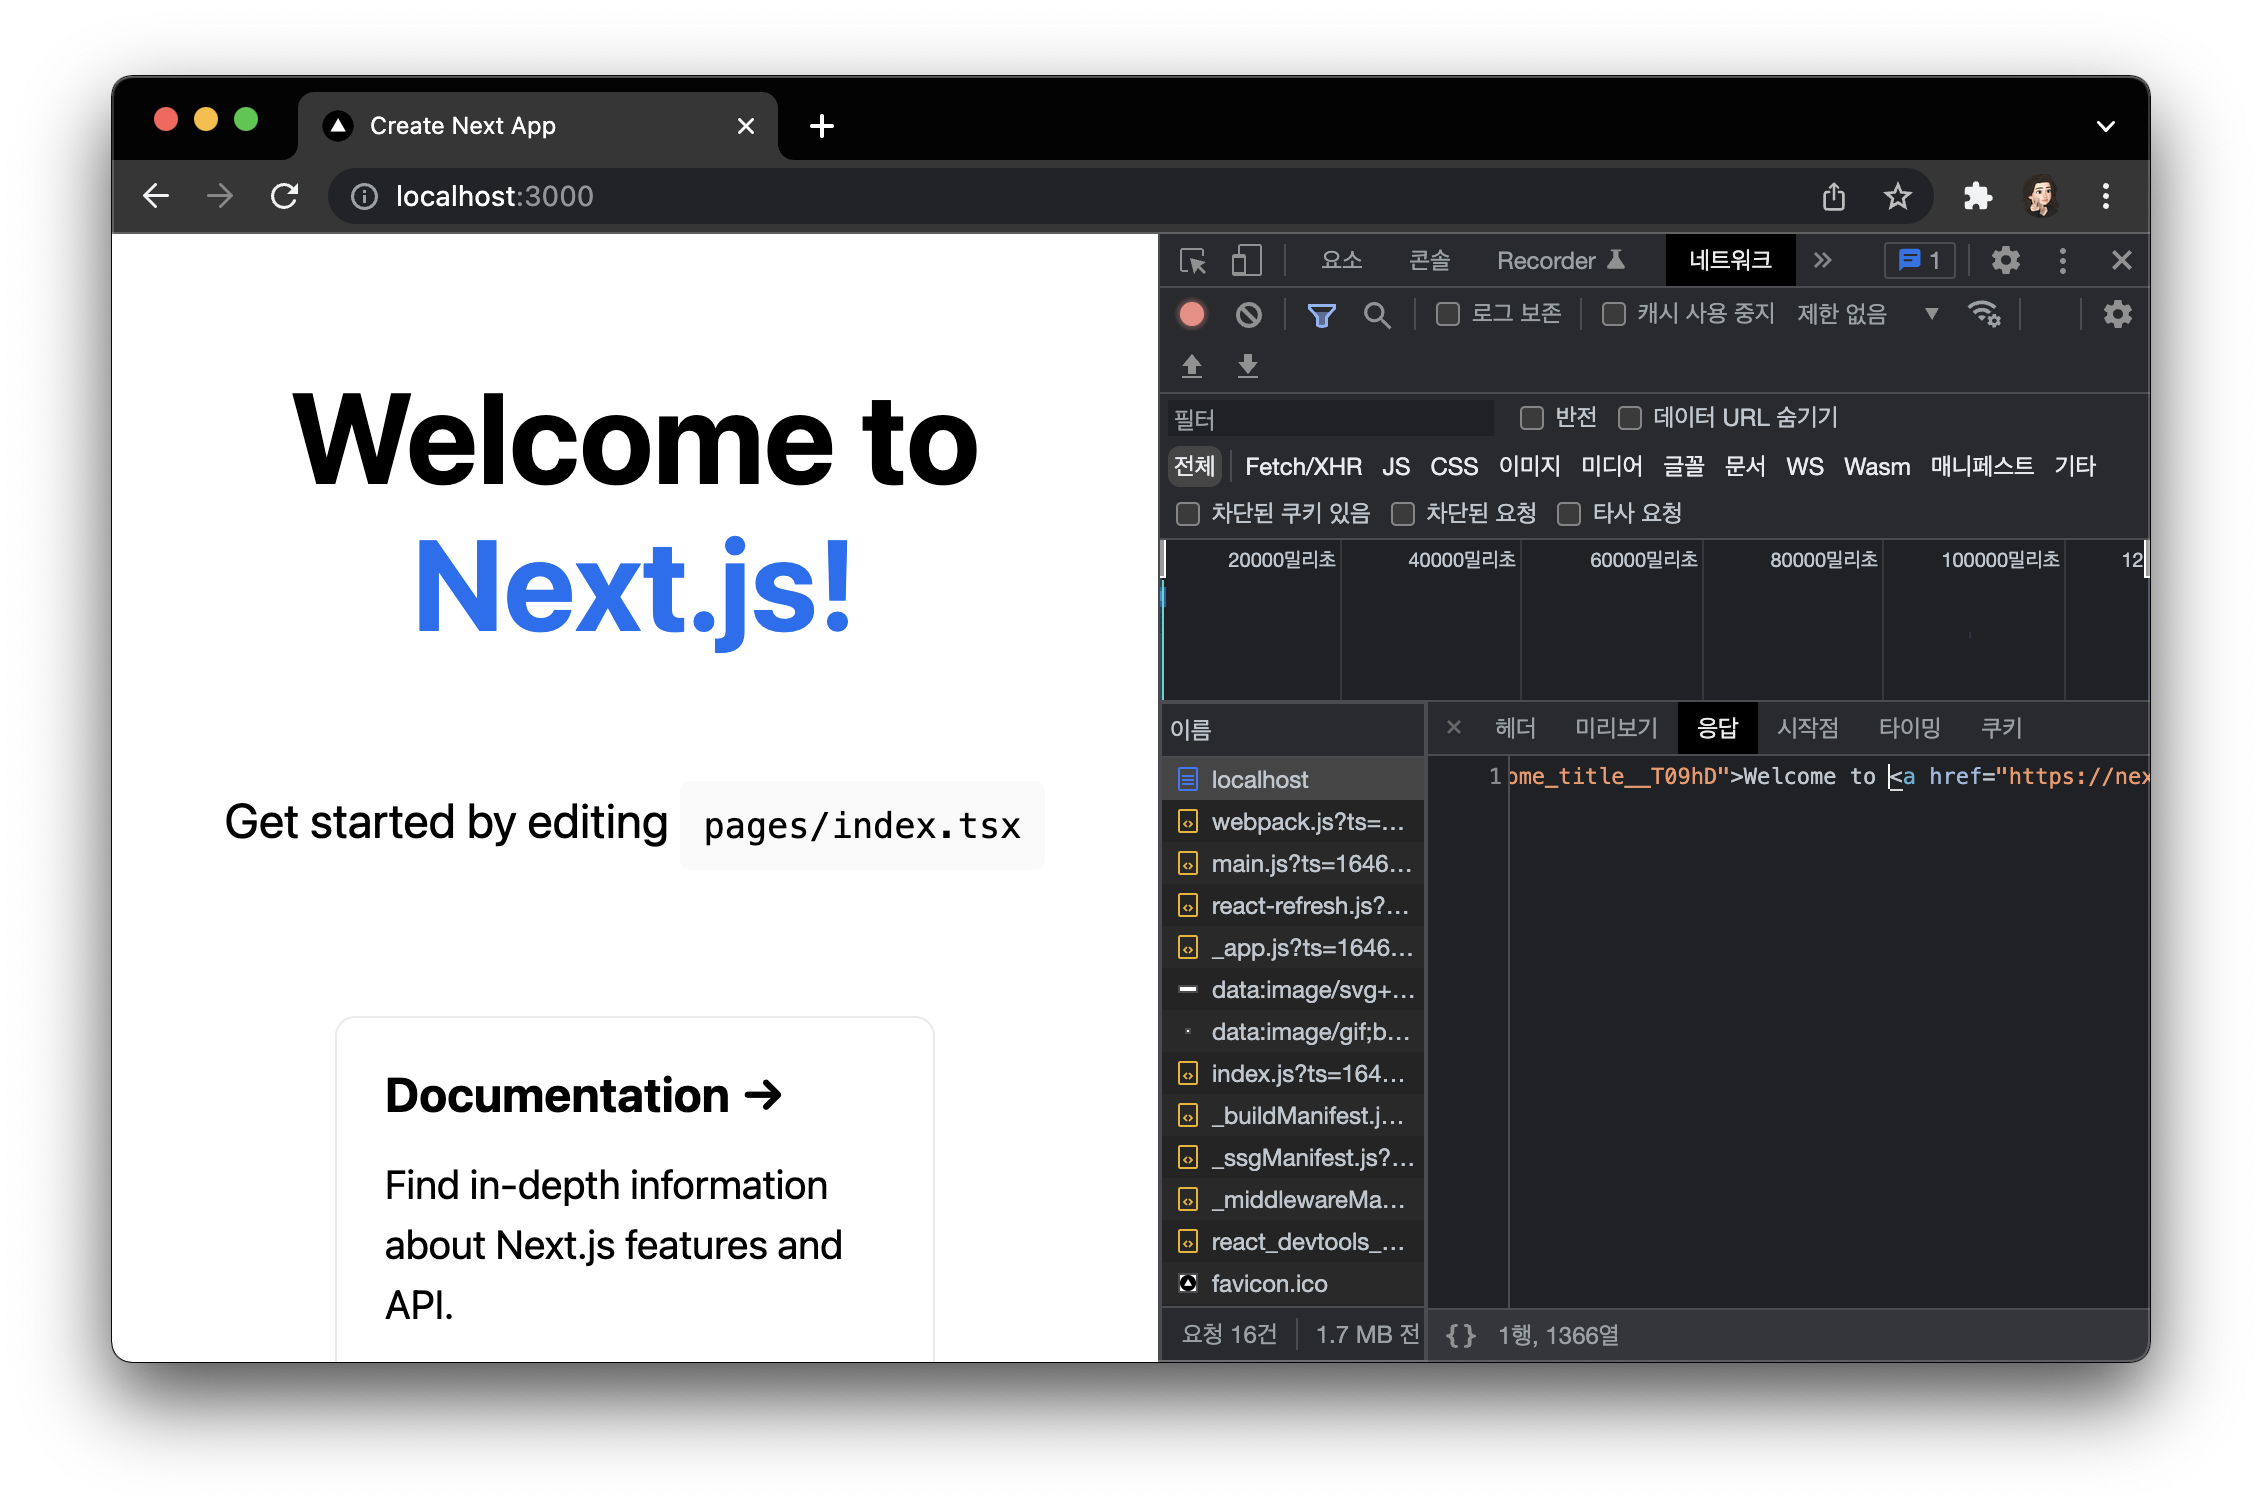
즉, SSG로 빌드된 html을 렌더링해 컨텐츠까지 크롤링 가능
1️⃣ 1. 시작하기
- 해당 브랜치
git clone -b 1/start https://github.com/MiryangJung/Build-Own-blog-With-Next.js
보일러플레이트 설치
npx create-next-app@latest my-blog --typescript -y
# 또는
yarn create next-app my-blog --typescript -y
불필요 폴더 및 파일 삭제
- pages/api
- styles/Home.module.css
- pages/index.tsx
tsconfig 설정
유연한 진행을 위해 strict false 사용
{
  "compilerOptions": {
    "strict": false,
    ...
tailwind 설정
yarn add -D tailwindcss postcss autoprefixer
npx tailwindcss init -p
module.exports = {
content: [
"./pages/**/*.{js,ts,jsx,tsx}",
"./components/**/*.{js,ts,jsx,tsx}",
],
theme: {
extend: {},
},
plugins: [],
}@tailwind base;
@tailwind components;
@tailwind utilities;vscode 확장프로그램 설치
- dbaeumer.vscode-eslint
- bradlc.vscode-tailwindcss
- esbenp.prettier-vscode
Dev 모드로 실행
yarn dev2️⃣ 2. 라우팅
- 해당 브랜치
git clone -b 2/routing https://github.com/MiryangJung/Build-Own-blog-With-Next.js
페이지 생성
/ 페이지
const Home = () => {
  return <div className={`text-green-500 text-lg`}>Home</div>;
};

export default Home;
/blog 페이지
const Blog = () => {
  return <div className={`text-red-500 text-lg`}>Blog</div>;
};

export default Blog;
GNB 만들기
GNB : Global Navigation Bar
next/link
next-js-link-vs-router-push-vs-a-tag
nav 링크들을 쉽게 관리하기 위해 navlinks 생성
const navlinks: { title: string; link: string }[] = [
  { title: "Home", link: "/" },
  { title: "Blog", link: "/blog" },
];

export default navlinks;
navlinks 를 읽는 Nav 컴포넌트 생성
import navlinks from "../data/navlinks";
import Link from "next/link";

const Nav = () => {
  return (
    <nav>
      {navlinks.map((nav) => (
        <Link href={nav.link} key={nav.title}>
          <a className={`mr-5`}>{nav.title}</a>
        </Link>
      ))}
    </nav>
  );
};

export default Nav;
Container 생성
import Head from "next/head";
import Nav from "./Nav";

const Container = (props) => {
  return (
    <>
      <Head>
        <title>내 블로그</title>
      </Head>
      <header>
        <Nav />
      </header>
      <main>{props.children}</main>
    </>
  );
};

export default Container;
Container 적용
import Container from "../components/Container";

const Home = () => {
  return (
    <Container>
      <span className={`font-bold`}>HOME</span>
    </Container>
  );
};

export default Home;
import Container from "../components/Container";
const Blog = () => {
return (
<Container>
<span className={`font-bold`}>BLOG</span>
</Container>
);
};
export default Blog;3️⃣ 3. 스타일링
- 해당 브랜치
git clone -b 3/styling https://github.com/MiryangJung/Build-Own-blog-With-Next.js
쉬운 데이터 관리를 위해 metadata.ts 생성
const metadata = {
  title: "My Blog",
};

export default metadata;
public 폴더에 logo.jpg 생성, Header 스타일링
...중략
const Container = (props) => {
  return (
    <div className={`w-full flex flex-col items-center p-3`}>
      <Head>
        <title>{metadata.title}</title>
      </Head>
      <header
        className={`w-full max-w-3xl flex flex-row justify-between items-center my-1`}
      >
        <div className={`flex flex-row items-center`}>
          <Image
            src={`/logo.jpg`}
            alt="로고"
            width={40}
            height={40}
            objectFit={`cover`}
            className={`rounded-full`}
          />
          <span className={`mx-2 font-extralight text-lg`}>
            {metadata.title}
          </span>
        </div>
        <Nav />
      </header>
      <main className={`w-full max-w-3xl`}>{props.children}</main>
    </div>
  );
};
/home 에서 사용할 최근 게시물 목록 컴포넌트 생성
import Link from "next/link";

const RecentPosts = () => {
  return (
    <section className={`mt-10`}>
      <h1 className={`text-3xl font-extrabold`}>최근 게시물</h1>
      <div className={`flex flex-col`}>
        <Link href="/" passHref>
          <a className="mt-5">
            <div className={`font-medium text-xl`}>
              게시물 제목이 나타납니다.
            </div>
            <div className={`font-light`}>게시물 설명이 나타납니다.</div>
          </a>
        </Link>
        <Link href="/" passHref>
          <a className="mt-5">
            <div className={`font-medium text-xl`}>Hello!</div>
            <div className={`font-light`}>안녕하세요.</div>
          </a>
        </Link>
      </div>
    </section>
  );
};

export default RecentPosts;
public 폴더에 home.jpg 생성, /home 스타일링
...중략
const Home = () => {
  return (
    <Container>
      <div className={`my-5 w-full`}>
        <div className={`relative`}>
          <Image
            src={`/home.jpg`}
            alt="대표 이미지"
            width={`100%`}
            height={45}
            layout={`responsive`}
            objectFit="cover"
            className={`rounded-3xl`}
          />
          <span
            className={`absolute top-12 font-extrabold italic text-white text-5xl md:text-9xl text flex justify-center w-full drop-shadow-lg`}
          >
            {metadata.title}
          </span>
        </div>
        <RecentPosts />
      </div>
    </Container>
  );
};
/blog 글 목록에 사용될 컴포넌트 생성
import Link from "next/link";

const BlogPost = () => {
  return (
    <Link href="/blog" passHref>
      <a className="w-full my-7 hover:-translate-x-1.5">
        <div className="font-medium text-xs text-gray-400">2022.02.10</div>
        <div className={`font-extrabold text-2xl mt-2`}>
          💙 게시물 제목이 나타납니다.
        </div>
        <div className={`font-medium text-gray-600 text-xl mt-1`}>
          게시물 설명이 나타납니다.
        </div>
      </a>
    </Link>
  );
};

export default BlogPost;
/blog 스타일링
import BlogPost from "../components/BlogPost";
import Container from "../components/Container";

const Blog = () => {
  return (
    <Container>
      <div className={`mt-10 flex flex-col`}>
        <BlogPost />
        <BlogPost />
        <BlogPost />
      </div>
    </Container>
  );
};

export default Blog;
4️⃣ 4. contentlayer
- 해당 브랜치
git clone -b 4/contentlayer https://github.com/MiryangJung/Build-Own-blog-With-Next.js
contentlayer
"contentlayer": "^0.2.6" 버전 사용
Tip! 아직 베타단계인 라이브러리라서 Who is using Contentlayer? 초반에 블로그 이름 올릴 수 있음
contentlayer 설치
yarn add contentlayer next-contentlayercontentlayer 설정
import { defineDocumentType, makeSource } from "contentlayer/source-files";

export const Post = defineDocumentType(() => ({
  name: "Post",
  contentType: "mdx",
  filePathPattern: `**/*.mdx`,
  fields: {
    title: { type: "string", required: true },
    date: { type: "string", required: true },
    description: { type: "string", required: true },
  },
}));

export default makeSource({
  contentDirPath: "posts",
  documentTypes: [Post],
});
Next.js 플러그인으로 설정
const { withContentlayer } = require("next-contentlayer");

module.exports = withContentlayer({
  reactStrictMode: true,
});
.mdx 파일 생성
---
title: Miryang의 Next.js 핸즈온
date: 2022-03-10
description: 설명란입니다. 설명을 적어요~
---

## 제목

- 내용 1
- 내용 2
path 설정
"compilerOptions": {
    ...
    "baseUrl": ".",
    "paths": {
      "contentlayer/generated": ["./.contentlayer/generated"]
    }
},
"include": [
    ...
    ".contentlayer/generated"
], ...
서버를 재실행하면 아래와 같은 문구가 나타남
.contentlayer/generated/Post 에서 생성된 document를 확인할 수 있음
Generated 1 documents in .contentlayer
BlogPost 를 title, des 를 props로 받도록 변경
import Link from "next/link";

const BlogPost = ({ date, title, des, slug }) => {
  return (
    <Link href={`/blog/${slug}`} passHref>
      <a className="w-full my-7 hover:-translate-x-1.5">
        <div className="font-medium text-xs text-gray-400">{date}</div>
        <div className={`font-extrabold text-2xl mt-2`}>{title}</div>
        <div className={`font-medium text-gray-600 text-xl mt-1`}>{des}</div>
      </a>
    </Link>
  );
};

export default BlogPost;
생성된 posts를 읽어서 Blog 목록으로 반환
getStaticeProps : 사전 렌더링 프로세스 동안 이 함수를 실행, 즉 빌드할 때 실행
...
import { allPosts } from "contentlayer/generated";
import { InferGetStaticPropsType } from "next";

const Blog = ({ posts }: InferGetStaticPropsType<typeof getStaticProps>) => {
  return (
    <Container>
      <div className={`mt-10 flex flex-col`}>
        {posts.map((post) => (
          <BlogPost
            date={post.date}
            title={post.title}
            des={post.description}
            slug={post._raw.flattenedPath}
            key={post._id}
          />
        ))}
      </div>
    </Container>
  );
};

export const getStaticProps = async () => {
  const posts = allPosts.sort(
    (a, b) => Number(new Date(b.date)) - Number(new Date(a.date))
  );

  return {
    props: {
      posts,
    },
  };
};

export default Blog;
똑같은 방법으로 최근게시물에도 적용
RecentPosts도 컴포넌트를 분리 가능하나, 실습을 위해 아래와 같은 형태 사용
import Link from "next/link";

const RecentPosts = ({ posts }) => {
  return (
    <section className={`mt-10`}>
      <h1 className={`text-3xl font-extrabold`}>최근 게시물</h1>
      <div className={`flex flex-col`}>
        {posts.slice(0, 5).map((post) => (
          <Link
            key={post._id}
            href={`/blog/${post._raw.flattenedPath}`}
            passHref
          >
            <a className="mt-5">
              <div className={`font-medium text-xl`}>{post.title}</div>
              <div className={`font-light`}>{post.description}</div>
            </a>
          </Link>
        ))}
      </div>
    </section>
  );
};

export default RecentPosts;
...
import { allPosts } from "contentlayer/generated";
import { InferGetStaticPropsType } from "next";
const Home = ({ posts }: InferGetStaticPropsType<typeof getStaticProps>) => {
return (
<Container>
<div className={`my-5 w-full`}>
...
<RecentPosts posts={posts} />
</div>
</Container>
);
};
export const getStaticProps = async () => {
const posts = allPosts.sort(
(a, b) => Number(new Date(b.date)) - Number(new Date(a.date))
);
return {
props: {
posts,
},
};
};
export default Home;5️⃣ 5. Blog Post
- 해당 브랜치
git clone -b 5/post https://github.com/MiryangJung/Build-Own-blog-With-Next.js
blog 글 페이지 생성
post code를 html로 변환
getStaticePaths: 빌드되어야할 동적 라우트들을 명시
import Container from "components/Container";
import { allPosts } from "contentlayer/generated";
import { InferGetStaticPropsType } from "next";
import { useMDXComponent } from "next-contentlayer/hooks";

const Post = ({ post }: InferGetStaticPropsType<typeof getStaticProps>) => {
  const MDXComponent = useMDXComponent(post.body.code);
  return (
    <Container>
      <div className="mt-10 prose">
        <h1 className="text-sky-700">{post.title}</h1>
        <MDXComponent />
      </div>
    </Container>
  );
};

export const getStaticPaths = async () => {
  return {
    paths: allPosts.map((p) => ({ params: { slug: p._raw.flattenedPath } })),
    fallback: false,
  };
};

export const getStaticProps = async ({ params }) => {
  const post = allPosts.find((p) => p._raw.flattenedPath === params.slug);
  return {
    props: {
      post,
    },
  };
};

export default Post;
기본 html 컨텐츠에 스타일을 추가해주는 tailwind 플러그인 설치
yarn add -D @tailwindcss/typographymodule.exports = {
content: [
"./pages/**/*.{js,ts,jsx,tsx}",
"./components/**/*.{js,ts,jsx,tsx}",
],
theme: {
extend: {},
},
plugins: [require("@tailwindcss/typography")],
};6️⃣ 6. SEO
- 해당 브랜치
git clone -b 6/seo https://github.com/MiryangJung/Build-Own-blog-With-Next.js
Search Engine Optimization
검색 엔진에서의 노출도를 높이도록 사이트를 개선하는 최적화 작업
참고 코드
핸즈온에서 다루지 않지만 사용하면 좋은 라이브러리
next-seo
metadata에 값 추가
const metadata = {
  title: "My Blog",
  description: "who's blog",
  author: "MiryangJung",
};

export default metadata;Head에 custommeta를 적용할 수 있게 수정
const Container = (props) => {
  const meta = {
    title: metadata.title,
    description: metadata.description,
    author: metadata.author,
    ...props.customMeta,
  };

  return (
    <div className={`w-full flex flex-col items-center p-3`}>
      <Head>
        <title>{meta.title}</title>
        <meta content={meta.description} name="description" />
        <meta property="og:site_name" content={meta.author} />
      </Head>
...
blog post에 custommeta 설정
  const customMeta = {
    title: post.title,
    description: post.description,
    date: new Date(post.date).toISOString(),
  };

  return (
    <Container customMeta={customMeta}>
      <div className="mt-10 prose">
        <h1 className="text-sky-700">{post.title}</h1>
        <MDXComponent />
      </div>
    </Container>
  );
sitemap 생성
yarn add next-sitemap -Dmodule.exports = {
siteUrl: 'https://example.com',
generateRobotsTxt: true,
}"scripts": {
"postbuild": "next-sitemap",
},7️⃣ 7. 배포
- 블로그 코드를 github에 올리기
- vercel 접속 후 로그인
- New Project 클릭
- 블로그 repo import
- project name 설정
- deploy